 Winter really is a b*^&% on curly hair, isn’t it? Every single year I debate cutting it all off or straightening it. This year I’m growing it out for my wedding so I can’t do the former, and I get it all sweaty with my workouts so spending $40 on a decent blow-out is not worth it.
There are some important things that we can do to help our curls, but they come with a few snarls. Here’s how to overcome them for happy, healthy hair!
1) Frequent oil treatments.
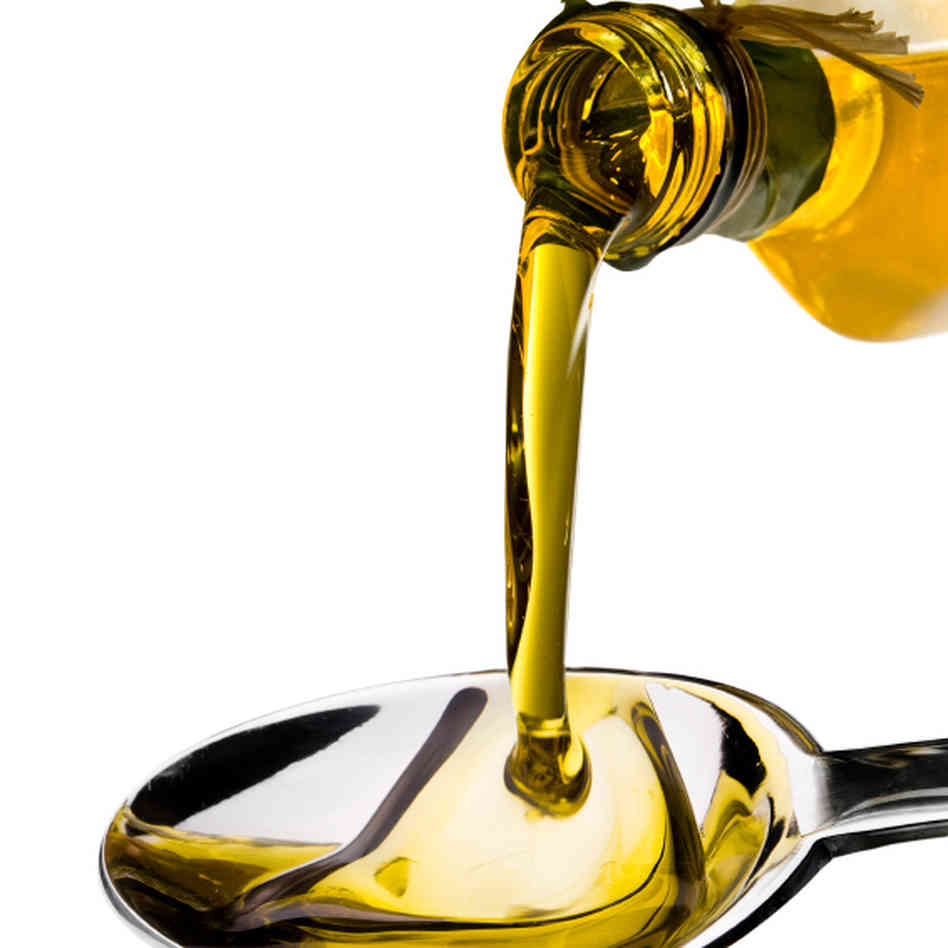 The Problem: If you do an oil treatment every week during the winter you will love your hair. There are just a few issues, namely the plumbing and the time. With shorter daylight hours we find less energy to do the things we have to do, let alone the things we want to do. Aside from time, which would be easy enough to overcome, I have to add to the fact that I live in a pre-war building with less than stellar plumbing and every single time I do an oil treatment it clogs the shower drain. We’ve have to use Drain-O in our already old and unreliable pipes, and that’s not good.
The Solution: I have decided to do bi-weekly oil treatments and to wash them out at the gym instead of at home. Their brand new building and commercial pipes will allow for easy flow. Exercising with an oil treatment in your hair is always recommended, just don’t put in so much that your hair will be dripping, and limit yourself to the treadmill, elliptical, stairs and free weights, or activities where the head doesn’t have to touch machines. Sweating opens pores and allows for additional saturation to your scalp and hair follicles. Apply the treatment the night before so hair has had time to absorb most of it, then tie it in a tight bun and go to the gym, and wash it out when you’re done! Be sure to pack your lemon/conditioner mix for cleansing. In between treatments, apply lighter oils to your ends.
2) A hat to protect hair from the elements.
The Problem: Almost every winter hat is expressly made for straight-haired people. It tamps hair down and flattens the heck out of the top, leaving the bottom frizzy and unmanageable from exposure and friction against scarves and high-necked jackets and sweaters.
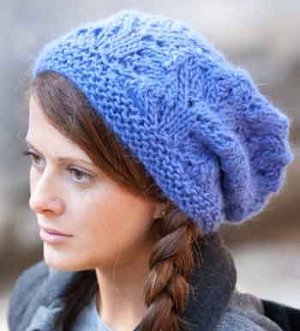 The Solution: The slouchy trend has brought about a plethora loose-fitting yet flattering hats. To protect hair you can wrap it lightly in a loose silk or nylon bandana before putting the hat on, but you don’t have to. You can also loosely tie hair up on top of your head to keep it covered. Hat styles that work best are those that are semi-loose around the band, and balloon out on top to accommodate lots of hair. I love the hat that I got from a Caribbean market in my neighborhood, loose enough to cover a head full of dreads. There is also a smaller and more discreet version for people with less hair, which can be found in many mall kiosks and online. I’d recommend buying one in person so you can ensure that the band won’t be too tight around your head.
Click below for more ideas to make it through the long, cold winter. Above all, keep your chin up and remember that things may look a bit different, but you’re beautiful all 365 days of the year!
Read More:
Winter Shminter: Curls in the Cooler Months
Winter Hair Care
My Waterless Week
Scalp Care


